
OutSystems Javascript API: Security and Logger

Taking advantage of this powerful tool
Hello all! :)
For those who don’t know, OutSystems Reactive has a Javascript API providing great features to improve applications by avoiding server-side processing.
In this article, I’m going to demonstrate two of them and how they work.
Use Case
First of all, let’s start by describing the application we will use in this example. We have a page that displays a list of Pending Service Orders waiting for approval or rejection actions. We also have two actors: an Operator and a Manager. The Operator user can only see the page without any action permitted, and the Manager user can see and Approve or Reject service orders.
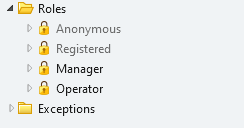
Roles
This article only covers development using the Javascript API, assuming you know the basics of the OutSystems Platform.
Checking a role client-side
We can verify a user role on the client-side using a line of code provided by the Javascript API:
$public.Security.checkIfCurrentUserHasRole($roles.ROLE_NAME)
By replacing ROLE_NAME with the role being verified, it will return TRUE if the logged user has the given role or FALSE if not.
In our Use Case, we need, therefore, to display two buttons - Approve and Reject - and a checkbox for each Service Order so they can be selected. Both the buttons and the checkbox will ONLY be visible to users that have the Manager role.
To achieve that requirement, we will use the OnInitialize page event and put a Javascript component there. We also have to create a Local Variable to keep the value returned by the Javascript API method.

Checking user role in OnInitialize event
The images below demonstrate how it will be displayed on the browser for each role.

Operator View

Manager View
Be careful
Suppose you are going to call a server action for each button (Reject and Approve). In that case, I strongly recommend that you also verify the role inside the server actions called by the client actions because a user with Javascript knowledge can manage some parts of the code client-side.
Logging Errors and Messages
OutSystems Reactive brought us the ease of building a significant portion of user interfaces only with Javascript. Nevertheless, we cannot forget to treat the exceptions to make sure they don't pop up on the browser.
The Javascript API provides two methods to log errors and messages in OutSystems Service Center. Those methods also work as Console.log, and when offline, the logs will be saved locally and sent to OutSystems Service Center when it becomes online.
$public.Logger.error(“MODULE_NAME”, error);
$public.Logger.log("MODULE_NAME", message);
Remember to replace MODULE_NAME with the name of the Module.
The difference between these methods is that the first will log the error in the Errors tab while the second will log the message in Service Center's General Monitoring tab.
Let's say we have a button that invokes a client action with Javascript code. We will build a default exception treatment and use the Logger method to send the error to Service Center. Let's explicitly throw an exception, just for presentation purposes.
After clicking the button, the error is logged in to Service Center.
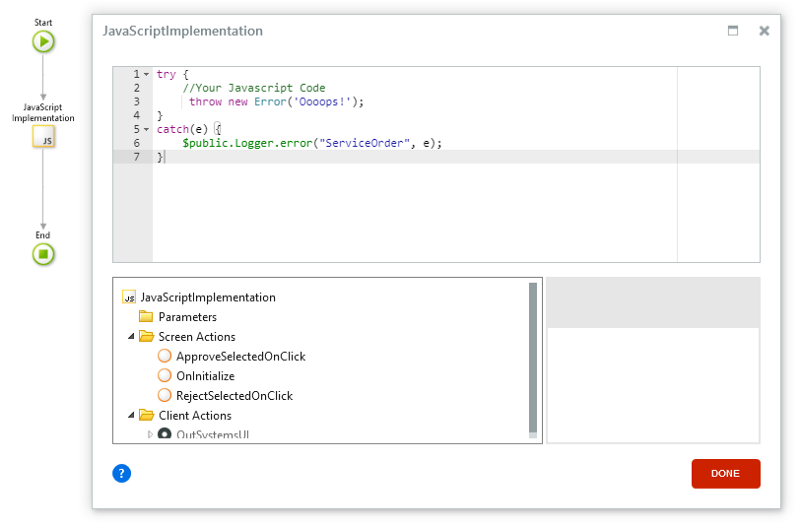
Logger error

Error log
Finally, we will log a message in Service Center for information purposes.
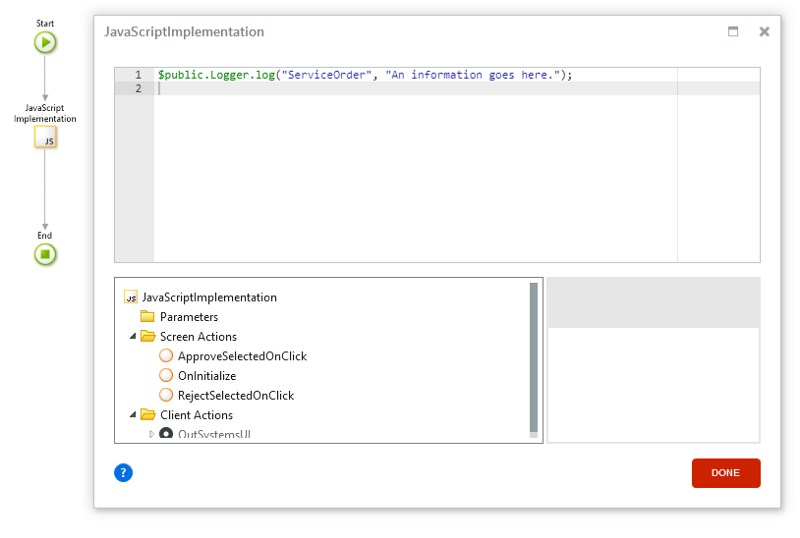
Logger error

General log
So…
With the demonstration of just two of the many methods of the Javascript API, we can recognize how powerful it is. Thus, I highly suggest incorporating it into your applications to take full advantage of all the features.
I strongly recommend reading its documentation on the OutSystems website.
Like this article? Share it:


